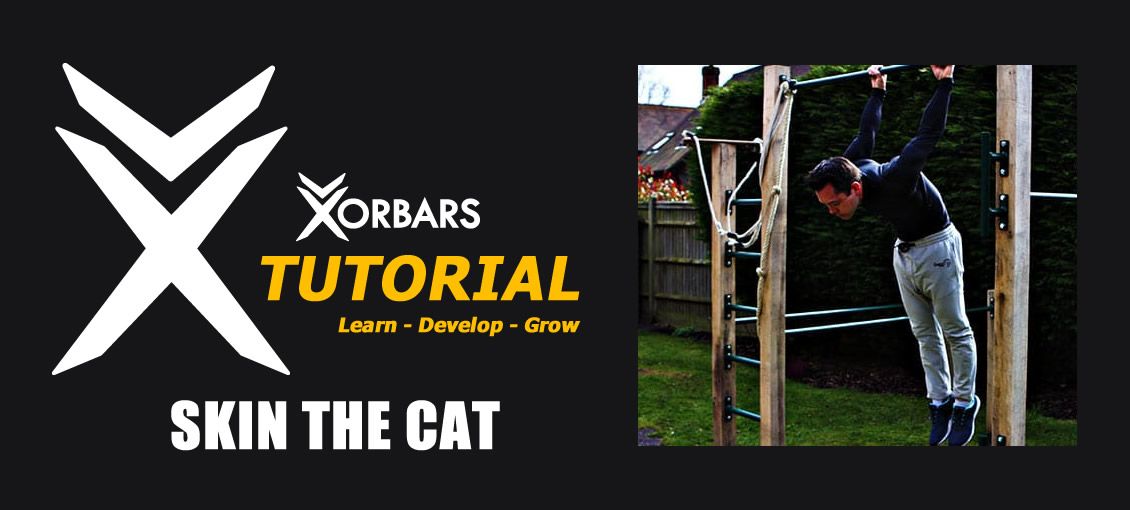
How to do the Skin the Cat exercise, muscles worked, and a video tutorial.
Muscles Worked
This is a great exercise that I always do at the end of my workout, to increase shoulder mobility, and feel a great stretch. I like to hang for 15 seconds or more.
Skin the Cat works most of your body—you’ll need strong Lats and Abs just to get into the starting position of an Inverted Hang. Your Posterior Deltoids (Shoulders), Upper Back and Lats will get quite a workout.
If you want to safely progress to learning the Back Lever exercise, then you need to master Skin the Cat first.
Prerequisites for Skin the Cat Exercise
- 6 Pull-ups or Chin-ups
- Hold an Inverted Hang for at least 10 seconds continuously
Equipment Required
You can do this exercise on Gymnastics Rings, a Pull-up bar, or a sturdy bar in a playground. It’s safer to start with a low-level bar (like railings) when you’re first learning the exercise, so you don’t have far to fall.
Skin the Cat Exercise Technique
Always begin exercise with a dynamic stretching warm up [Click Here].
Starting with a low-level bar:
- Hold the bar with an over-hand grip, shoulder-width apart
- Bring your knees to your chest and lean your body backwards, until you’re hanging inverted and your feet have cleared the bar
- Keeping your knees tight to your chest, lower and stretch as far as you find comfortable—this must be a controlled decent
- Use your feet to stop your decent, then let go of the bar and repeat
CAUTION
- This exercise could have a high risk of injury, so take your time to slowly increase the stretch, so you don’t rip your shoulders off ? …or fall on your head!
- Some people feel a prickling sensation in their upper back the first few times they try this exercise, so work the area slowly, going back and forth whenever you feel the prickles. Eventually you’ll stop feeling this, but it may take a couple of workouts.
- Take your time to progress from one stage to the next, in order to avoid injury.
Progression 1: Extended legs with support
- Ideally use a medium height bar that allows you to extend your legs further than a tuck, and be able to comfortably touch the ground, to support some of the weight.
- Once you’re comfortable with a deep stretch, you can carefully lift your feet, and take the full weight on your shoulders.
Progression 2: Extended legs with no support
- Move to a high bar that will not allow your feet to touch the ground
- Once your feet have passed the bar, you can bring your knees over your head in a pike position (straight legs, bent at the hips)
- Stretch all the way down
- Let go when you’re finished
Progression 3: Roll back up
- Rather than letting go of the bar at the end, you can roll back up to the inverted position
- Start with tucked knees to begin with, and gradually work up to the pike version.
Watch the video tutorial
George Choy (Certified Calisthenics Instructor)
For more information on George Choy or to visit his excellent website for more workouts and healthy eating tips and recipes, please visit www.busyparentfitness.com
