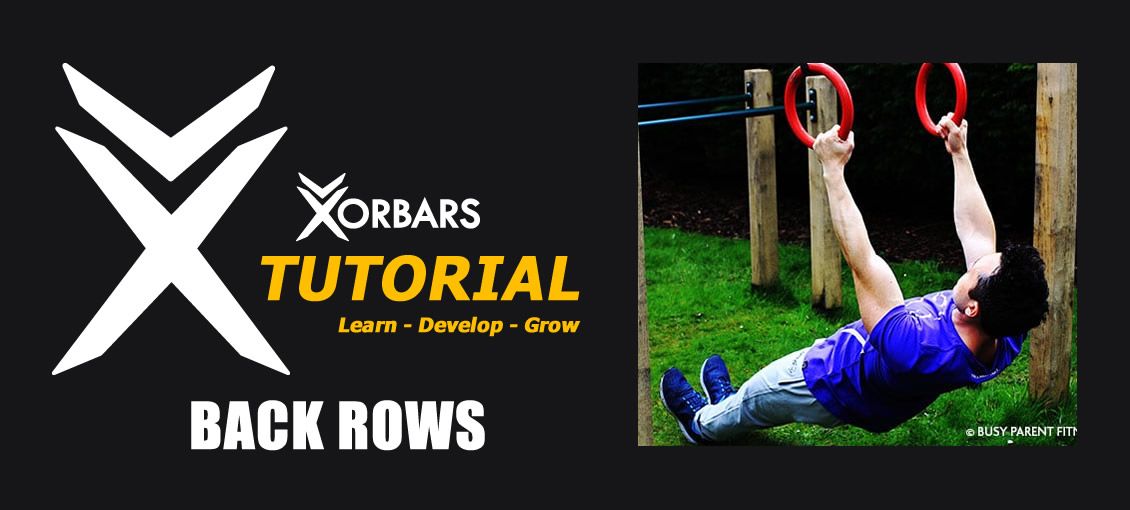
This blog post will teach you why Inverted Rows (a.k.a. Body Rows, Australian Rows or Incline Rows) are great for your upper back and arms, how to get started, and how to progress the exercise from relatively easy, to brutal!
Why you should do Inverted Rows
One of the problems of exercising in the gym, particularly for a relative beginner, is you’re just not lifting heavy enough. Consequently, pull-ups may seem way out of reach. So you just grind out a few reps with dumbbell or cable rows, and the lat pulldown machine, with what you think is a moderately heavy weight.
It’s only when you start doing Inverted Rows, that you realise you were taking it way too easy on yourself. Inverted Rows are suitable for all strength levels, as you can progress the exercise from super-easy, to so difficult that you can’t even perform 1 repetition!
If you suffer from lower back pain, then Inverted Rows are a much better alternative to dumbbell or barbell rows, as this exercise puts a lot less strain on your lower back.
It also works in the opposing direction to the Bench Press or Push Up, so can help to correct that hunched-forward “ape” look, if you’ve been over-doing it on the horizontal pressing.
Muscles worked by Inverted Rows
This is a great overall exercise for the upper-back and arms. It helps to create that V-shape by working the Lats (that muscle under your arm-pit), Rhomboids and Trapezius (middle back), rear Deltoid (shoulders), and Biceps.
Once you get started on the rows, you’ll soon discover that the exercise also works your core, as it’s like a moving plank.
Equipment Required
You can do this exercise with a static bar. But if the bar is completely fixed, then it’s difficult to progress. If you’re in a gym, then the Smith Machine is perfect for this exercise, as you can adjust the height of the bar to increase the difficulty level.
My preference for this exercise is suspension equipment, such as gymnastics rings, or TRX, as you can put them up anywhere and they are easily adjusted. They also make the exercise more difficult than performing on a bar, due to the stability issue.
Warm Up
Always begin exercise with a dynamic stretching warm up [Click Here].
If you’re going to try low reps with maximum resistance, then additionally do 1-2 warm-up sets of easier Inverted Rows beforehand.
Safety
Safety first—check your equipment is definitely fixed and can take your weight before you start leaning back.
I always jump up onto my gymnastics rings in a dip position, or just hang underneath with tucked legs, before I start my first set. Things can move, so I always perform this double-check.
If cables are sliding, then you haven’t fixed them correctly.
Inverted Rows—Technique
I’ll refer to the anchor point during the technique—assume this is where the rings or TRX are hung, and there’s an imaginary vertical line from there straight down to the floor. If you’re using a fixed bar, then it’s that.
For your first time, set the level of the rings or bar just under chest height, then adjust afterwards, depending on your strength levels.

Starting position:
- Stand facing the anchor point and grip the:
- Rings / TRX in a neutral “hammer” grip position.
- bar with an over-hand grip (palms facing away from you), shoulder-width apart.
- Walk forward slightly, to ideally create a 45 degree angle with your body (the further your feet go past the anchor point, the harder this exercise becomes).
- Before you stretch your arms to lower your body, brace your core and bend one leg at the knee, to support yourself as you lower.
- Then put both legs together.
- When your feet get further and further away from the anchor point, I find it more comfortable to do the exercise on my heels, rather than a flat foot.

Begin:
- Keeping your entire body in a straight line (and remembering to contract your abs), pull your body towards the rings / bar.
- Keep your elbows in, and “graze” the inside of your arms against your ribs, until your hands reach your chest.
- Try to keep your chest puffed out, so that you get a good squeeze of the shoulder blades at the top. I like to hold it for 1 second.
- If there’s slack in the cable, or you are standing completely upright with no effort, then position your legs further forward, to increase the difficulty.
- After the squeeze, lower your body by extending your arms back to the starting position.
- Remember to keep your body tight and in a straight line throughout the exercise (not bowed like a banana).
- Repeat—pulling yourself back up again.

Finishing the exercise:
Bend one leg at the knee to help support your body, then stand up.
How to make Inverted Rows more difficult
Go horizontal
Keep walking your feet forward until your arms are hanging directly below the anchor point. Adjust the hight of the rings / bar so that your body hangs only a few inches from the floor.
Feet elevated Inverted Rows

 Hanging directly below the anchor point, put your feet on a bench and then row.
Front Lever rows


This is a tremendous increase in resistance. Front Lever’s are a foundation exercise in Calisthenics and Gymnastics. Just holding the position is one thing…trying to row at the same time, is a whole new “ball game!” Most people will not be strong enough to do this exercise:
- hang under the anchor point
- tuck your knees to your chest, and lift your body up so that your back is reasonably horizontal. You’ll be facing the ceiling
- pull your body to the handles / bar
- hold the top position for 1 second if you can
- lower under control, and keep your body horizontal throughout the entire exercise
- as you become stronger, you can extend your legs, and push yourself further away from the anchor point, so that you look like your doing an upside-down push up—that’s the full Front Lever
George Choy (Certified Calisthenics Instructor)
For more information on George Choy or to visit his excellent website for more workouts and healthy eating tips and recipes, please visit www.busyparentfitness.com